Especificaciones
- Hardware Platform
- playstation_5
- Color
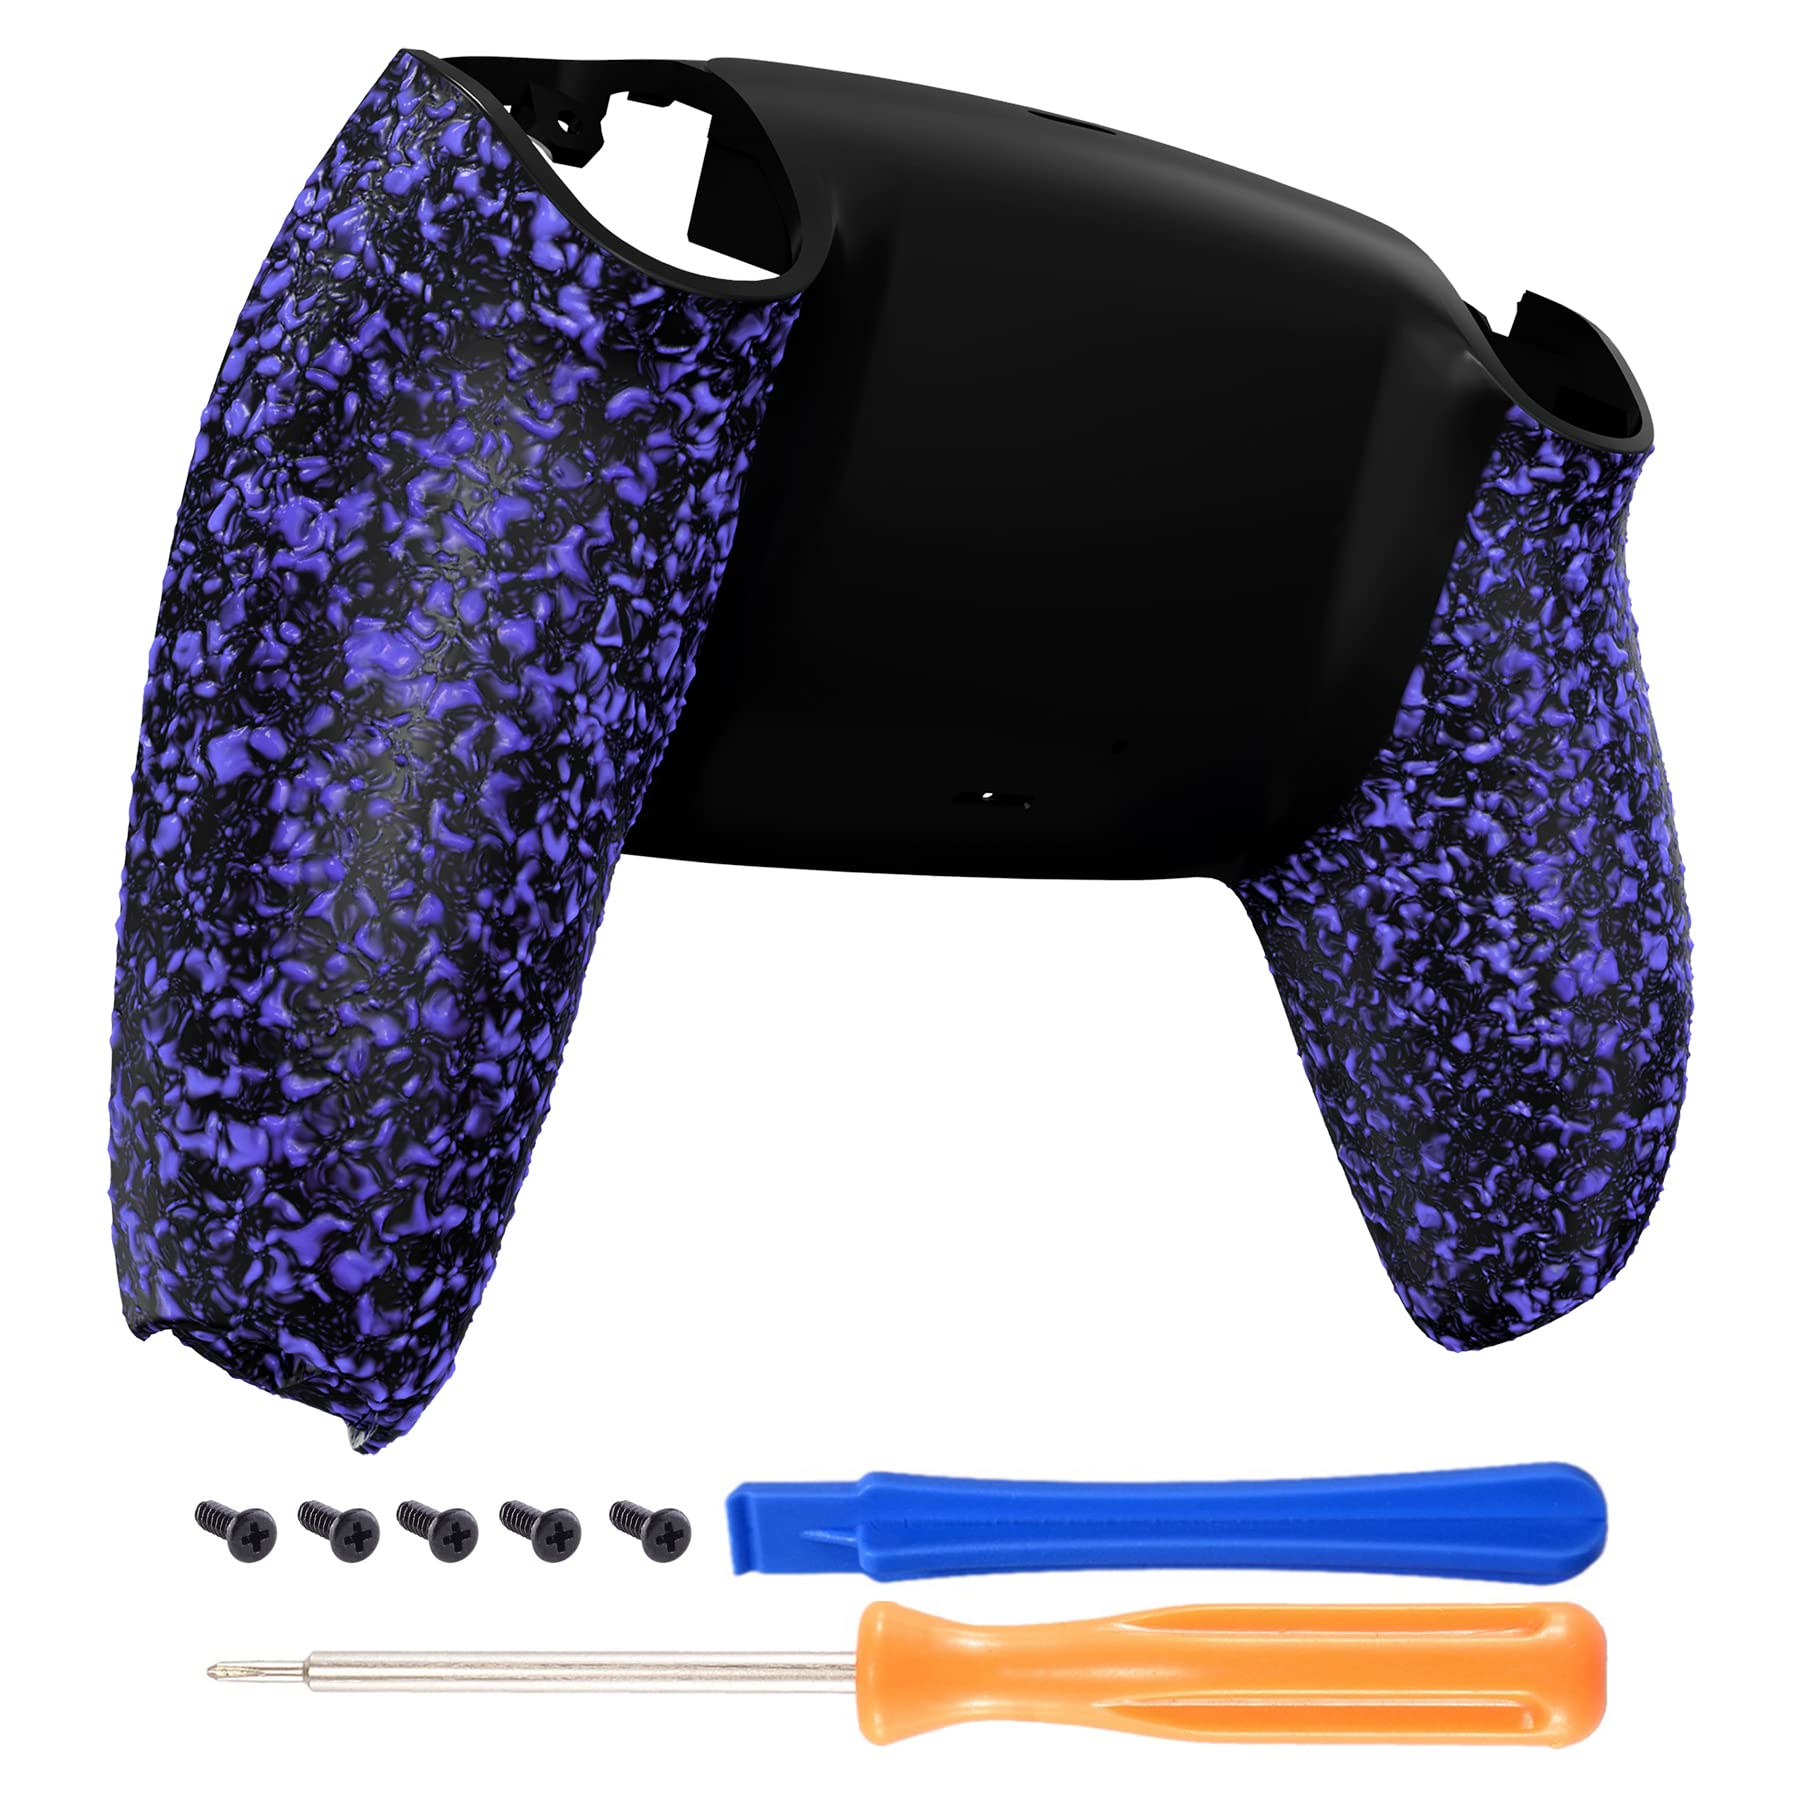
- Textured Purple
- Material
- Plastic acrylonitrile butadiene styrene (ABS)
- Finish Type
- Structured
- Fabricante
- Extremerate
- Number of Items
- 1
- Peso
- 15 g
- Model Number
- DPFP3018
- Mfr Part Number
- DPFP3018
- Item Dimensions W x H
- 3.54"W x 0.59"H
- Enclosure Material
- Plastic acrylonitrile butadiene styrene (ABS)
- Finish
- Structured
Ver todas las especificacionesVer menos⌄
Calificaciones
Las calificaciones provienen de Amazon.com.
Don’t be afraid, it wasn’t that difficult. Get a heat gun or hair dryer for the touch pad!
Completed the customization of one of my PS5 controllers. Looks sick, has a soft feel to it, and the install was not difficult for me but I can see it being challenging to a first timer. Fair price and high quality parts. Everything fit just fine. Love it!
Great Quality
Item and quality is great, Easy installation and makes your controller pop out and look better with these customizations. I would definitely recommend buying this. One thing to note if you have a 060 generation the fitting may sometimes be weird due to the battery bracket so I what I did is use a old bracket i had from my older controllers so it fit.
BEST shell replacement for a controller on the market
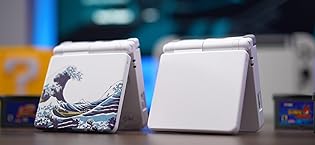
THIS… is eXtremeRate‘s shell replacement for PS5 controllers and it is simply the best shell replacement I have found this far. From an OEM fit to a step by step video guide, you really can’t go wrong here!Please Note - this photo shows 3 shell replacements and not just one - see bottom for detailsAlso note - you will need a heat gun or hair dryer (I used a hair dryer just fine)The shell comes with everything you would need (minus hair dryer), and the instructions also are spectacular. Changing just the front shell? Awesome video for that! Changing the back and the front like I have? Same exact thing! All in all it took me about 35 minutes to completely swap the shells out and only cursed a hand full of times. The only part that sucked was the touchpad and removing the glue but outside of that, it was a breeze!The fitment is spectacular and feels just like or better than OEM. Everything clicks and screws together just fine and I was never left wondering or guessing on the fitment.I have used eXtremeRates shells several times now on both PS5 and Xbox controllers and have had great success every single time, and I think it has really improved the aesthetic of my gaming setup for really a relatively low cost! I’m sure if you give these she’ll cases a chance, you will find that you love them just as much as I do! Yes you will have to take the controller apart, but I promise it is so much easier than you think it will be with their awesome step by step guide!Shown in photo:Front Bottom Shell - wood grainFront Shell - ocean waveBack Shell - wood grainFor glow in the dark and grips - glow in the dark is good but it isn’t REALLY bright, just be aware. The grips are great, they are rubbery and feel nice and textured to the hand.
Went the full mile, here's how it is
I went with the full wood detail on my controller, all eXtremeRate gear so you'll see this review on the other parts too. Not a terribly difficult project but it is very time consuming. Be sure to watch every video you can on how to take it apart properly. The main shell pieces are the easiest to deal with. Pop out the piece connected to the sticks first, then split the front and back plates, then you're in. The top two clips on the side near the L1/R1 are the hardest to pop out, but the rest after that is all screws. All the back shell pieces feel real smooth, as well as the buttons. BE WARNED: if you're replacing the touchpad it requires some type of heat gun to melt the glue to peel of the PCB board. I didn't know this going in and had to improvise with a blow dryer and a razor blade to get under it. The touchpad version of the replacement touchpad has two screws, but the newest model of PS5 official controller only has 1 and a notched slot. This is to make sure that the pad, the PCB, and the plastic piece connected have a TIGHT connection. With the two screws you have to make sure they're all the way tight. I don't think I did this correctly and now my pad sits slightly higher than the original and feels very slightly wobbly. I think something similar happened with the Options and Share buttons as they are slightly more recessed than the original. Overall, they all work as they originally did, just the feel is SLIGHTLY off. You'll need some tweezers and a light grip as well for removing the ribbon cables in the internals. There's no instructions in the box, but there's plenty of YouTube vids out there to get you where you need to go. Fun project for the evening, but took me about 3 hours to finish and test afterwards. May go back in later to fix the pad and other buttons, but overall happy with how it came out.


 Marca: eXtremeRate