First Time Mounting A Monitor, Easy Peasy!
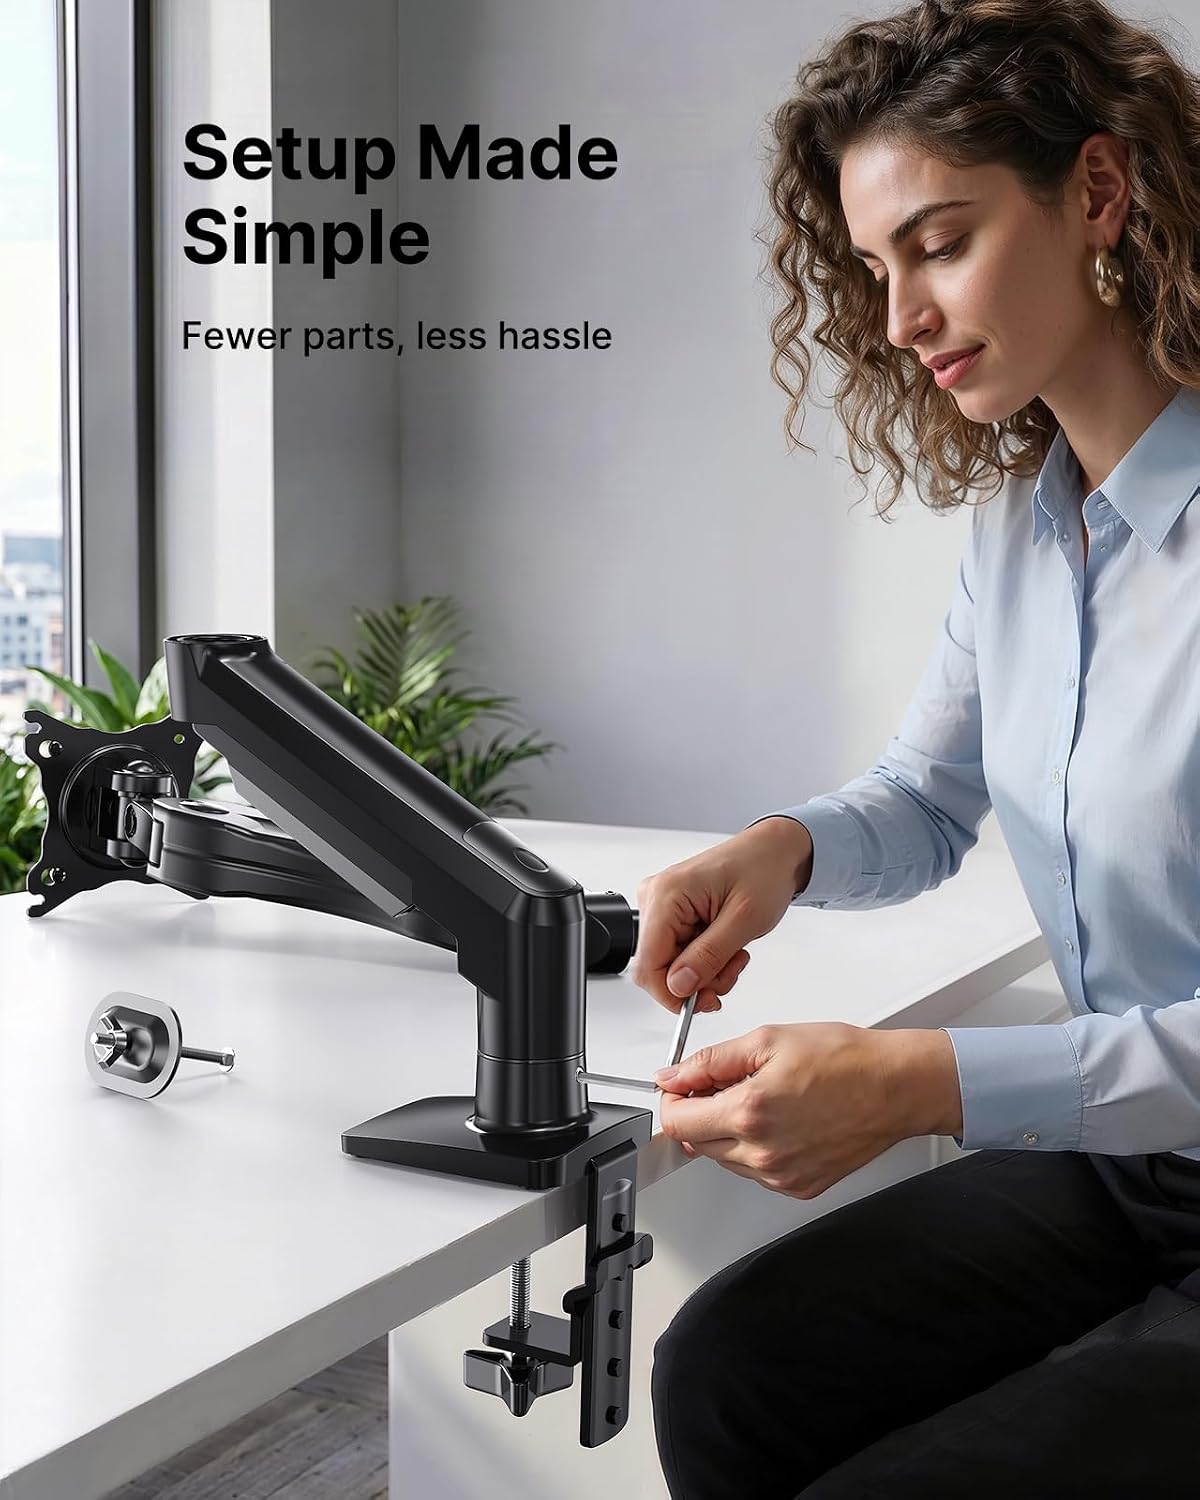
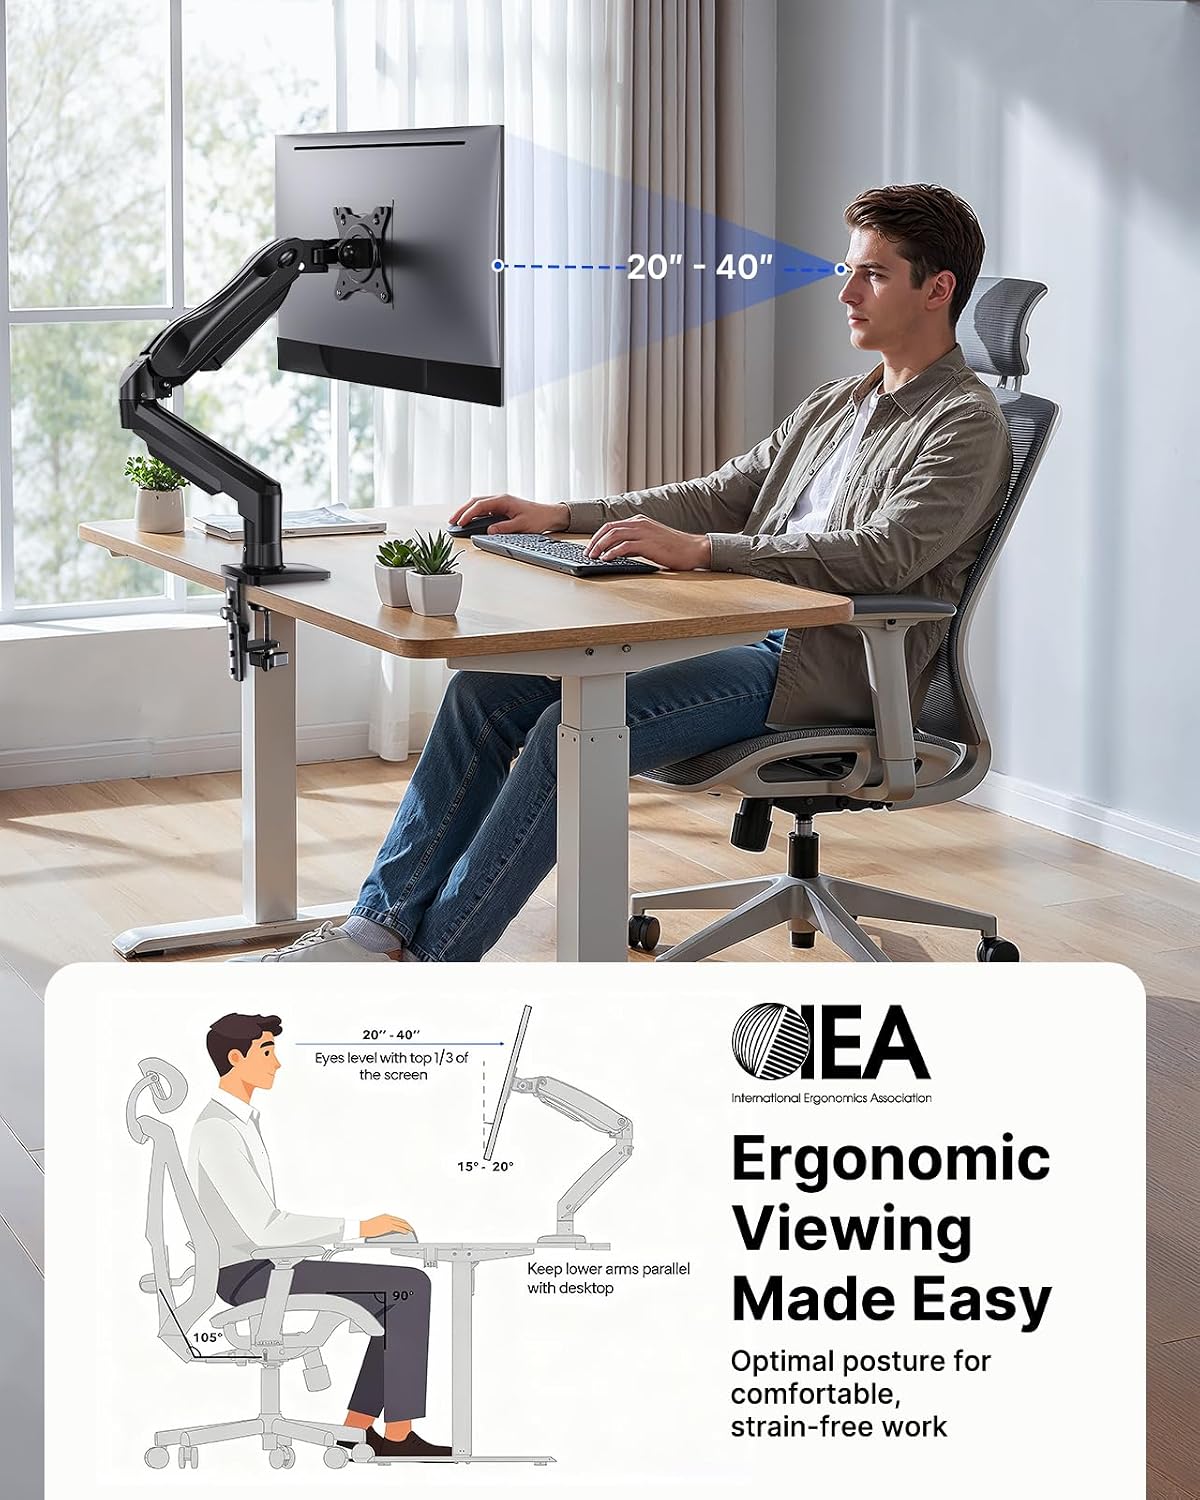
As the title says, this was my first time mounting a monitor. Actually I have never mounted anything! I usually keep my monitors on their stand or TV's on a console.I recently purchased a Dell S2721D to use as a dual monitor and larger screen for my Steam Deck. Unfortunately the base of the monitor stand was HUGE! It also only allowed the screen to tilt up or down, I needed more.So a quick search on Amazon and I found this stand, what intrigued me was that it used gas for tension instead of coils. It also had a huge range of motion and tons of good reviews and was very affordable.Come day of delivery I unboxed it, read the instructions and went to work. First piece of paper included separately from the instruction manual was directions on what to do if your desk has a metal frame and then wood boards on top of the frame. This was my case, I needed to take an extra step to make sure the base of the mount was secure to my desktop.The instructions suggested using either a piece of wood to place under the desk next to the frame or a book, this way there is something there the same thickness of the wood + frame which would allow the gromet of the stand to catch onto something instead of just the lip of the metal frame.I went with a thick book and it secured perfectly! Next step was to remove the plastic frame from the lower arm and the upper arm so I could feed my wires through. This is where I hit a slight snag, the screw for the bottom arm was in an awkward area, the provided Allan key/Phillips head combo was too small to get a good fit into the screw head and only took a couple of twists to realize it could strip the screw head. Luckily I had a different screw driver and with a little effort I was able to get the screw out and the piece open.I placed my two HDMI wires and the power wire through the top cover first, made sure there was enough slack at the top and then screwed the plate back onto the top arm making sure it was not too tight. Then I pulled the cables down through the bottom plastic plate and screwed it back onto the bottom arm. Once I knew I had enough slack I tightened both covers.Next up was actually mounting the monitor. I removed the 4 screws that were already in the monitor and replaced them with the screws provided with the stand as they had larger heads. I screwed in the top two just enough to keep them secure and then hung the monitor onto the top of the plate which was secured to the arm, think hanging a picture frame. Now that the monitor was hanging on the plate, I slowly let go of the monitor as to avoid having the arm slam down or dropping the monitor which is a little less than 10 pounds. It hung with no issue, the arm didn't even go down in the slightest ( there's that gas power! ).I then secured the bottom two screws to the plate and tightened the top two screws, we were fully secured! I plugged in the power, the two HDMI cords and then rotated the screen 90 degrees to make it vertical and make sure I had enough slack for the monitor to rotate that far without causing pressure on the cords. Once that was done I pulled more of the cords down through the arms.Last step was to reduce the tension of the arm so that the arm could move up and down without too much force. I reduced it just enough to allow full movement yet keep the monitor in its place once released.Now I have full motion of the monitor, I can move it almost anywhere I need to to have the best view possible. This stand is solid, functional and the best bang for your buck!
Excellent Single Monitor Arm No Matter The Price
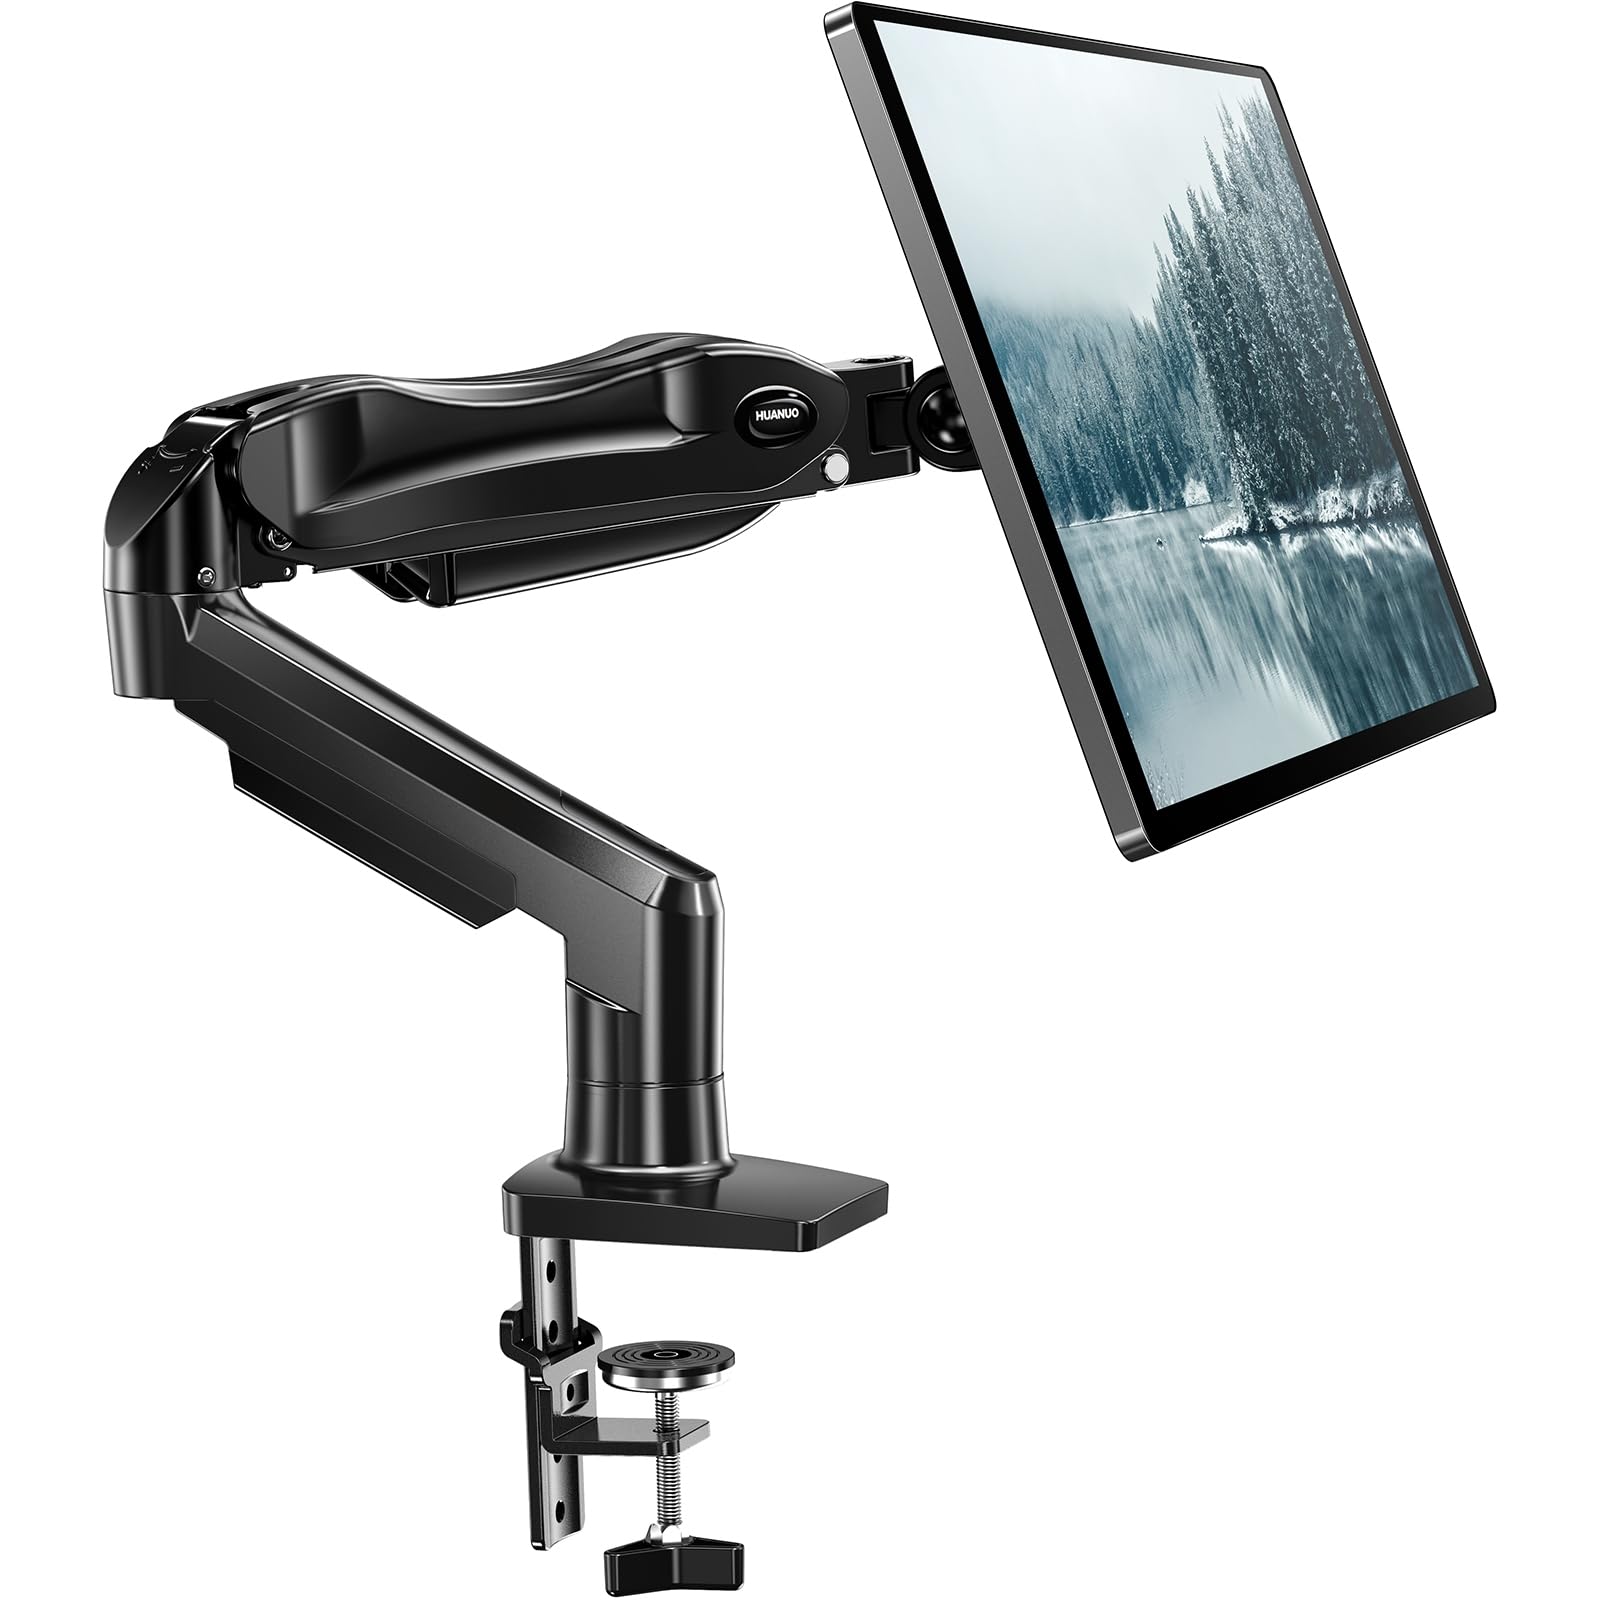
I snatched this monitor arm up for a single 24" 1440p 300Hz Sansui monitor that is lightweight while it was on sale ($33). Amazon delivered it same day (we have that service in our area). It's made of metal with black glossy paint and black plastic cableways. Mine has no logo on the foot (that seems to be an older model issue) but does have 2 logos on the arm itself, which can't be seen since they're behind the monitor. However, if you have walkways behind the monitor that could be unsightly. Luckily, they're fairly small (~1in/2.54cm) and black with white Huanuo text. They're also glued on and can come off easily with a razor.It comes with 2 Hex drivers, 1 that doubles as a Philips head driver so all the adjustments can be done without other tools. I attached the VESA mount (100mm x 100mm, it also supports 75mm x 75mm) using the included M4 x 12mm screws to my monitor. The monitor itself was lightweight enough that I had to turn the arm height adjustment screw clockwise 8-10 times to keep it from rising back up. I have it adjusted so that it stays where ever it is, touching the desk or full height.The clamp is very easy to put together and only requires about 2in/5cm depth. The bottom of the C-clamp foot itself is about 1.5in/3.8cm diameter. My foot is overhanging the bottom of my desk about 1/2in and because the monitor is so lightweight and my desk is solid wood that this causes no issue. I can move it anywhere, even hanging off the edge of the desk (which the instructions do not recommend). For my use case, I have it facing my desk for work and then rotating to point away from the desk for gaming in a chair in the room. Those with heavier monitors (curved, etc) and lighter desks might have issues. The arm is shorter than I expected but, for my use case, it's not an issue. It can tilt 90° left or right fairly easily and it will stay where you adjust it. This arm is a gas lift (like vehicle's rear hatches) and is silent when moving it (no spring sounds).The kit also comes with a section of all thread about 5in/12.7cm length for use with grommeted desks (they have a hole). There is a plate and butterfly screw that takes the place of the clamp foot. For curved monitors, it has longer screws M4 x 30mm and 4 plastic L13 spacers/bushings for VESA mounting.Overall, you really can't do better for a basic single monitor arm, especially at this price point. It does not have RGB lights (some models do) and for me, this is a good thing since I'm not a podcaster, hardcore gamer, or attracted to that type of thing. I won't look anywhere else as long as Huanuo (or a rebrand) continues making these for any other monitor needs in the future.
Simply reliable, reliably simple.
Huanuo is a stable brand in this area for a reason. This mount does exactly what you want it to do, and gives you all the hardware to set it up however you plan. The mount's material is hefty and sturdy, really putting you at ease on trusting it.The mounting is easy, and nicely supports whatever angle you want the monitor at for as long as you want it to. No issues on angles tilting too low, extension, etc. All in all, hard to be disappointed, especially for the price you pay.
GGrieger
16 de diciembre de 2025
Solid monitor arms with some weirdness with alternate models?
So I have to make this a bit of a mixed review because there are apparently a couple versions of this out there. The first one I ordered was great. I bought it to try it out and see if it was viable. It helped that the price was great compared to other monitor arms. Once that worked out, I went and bought two more.One of the ones I received was different from the others. The main arm components are the same but the mounting hardware was different. The first two had a single solid screw and three points on the bracket that goes under the desktop mount were metal nobs that fit into three holes to keep the whole thing rigid. For the third one, there was no central solid screw but three smaller ones that fit into those three holes and somehow felt less secure (though it was still solid once screwed into place).At first I didn't think anything of it but then when I mounted the monitor on the arm, I had to adjust the mid-arm tension and the end point to max to hold the monitor in place. The other two were near perfect and didn't require much of any adjustments (and all three monitors are the same exact model/make so no differences in weight/dimensions). So, if you get this and the manual reads HNSS6 then you're going to likely get the good experience. If you get one where the manual (not the box) reads HNSS6/HNSS6W, then your mileage may vary. I honestly thought I was going to have to return the arm because the monitor just wanted to tilt down.As far as the two other arms, putting it together was really straightforward. Once I got the hang of it from the first one, the others took maybe 5 minutes to assemble? And once in use, it's been great.These are not really made for vertical movement once set in place. There's a tension screw you have to use a hex wrench on to adjust height. But horizonal movement along the reach of the arm as well as rotating the monitor left and right is great. Doesn't feel flimsy or unsafe. So much easier to shift my monitors around as I move controllers in place (e.g., flight stick) or if I need to get behind them (one side sort of blocks access to drawers but now that I can rotate the monitor it isn't a problem compared to the static monitor mount I had before.




 Marca: HUANUO