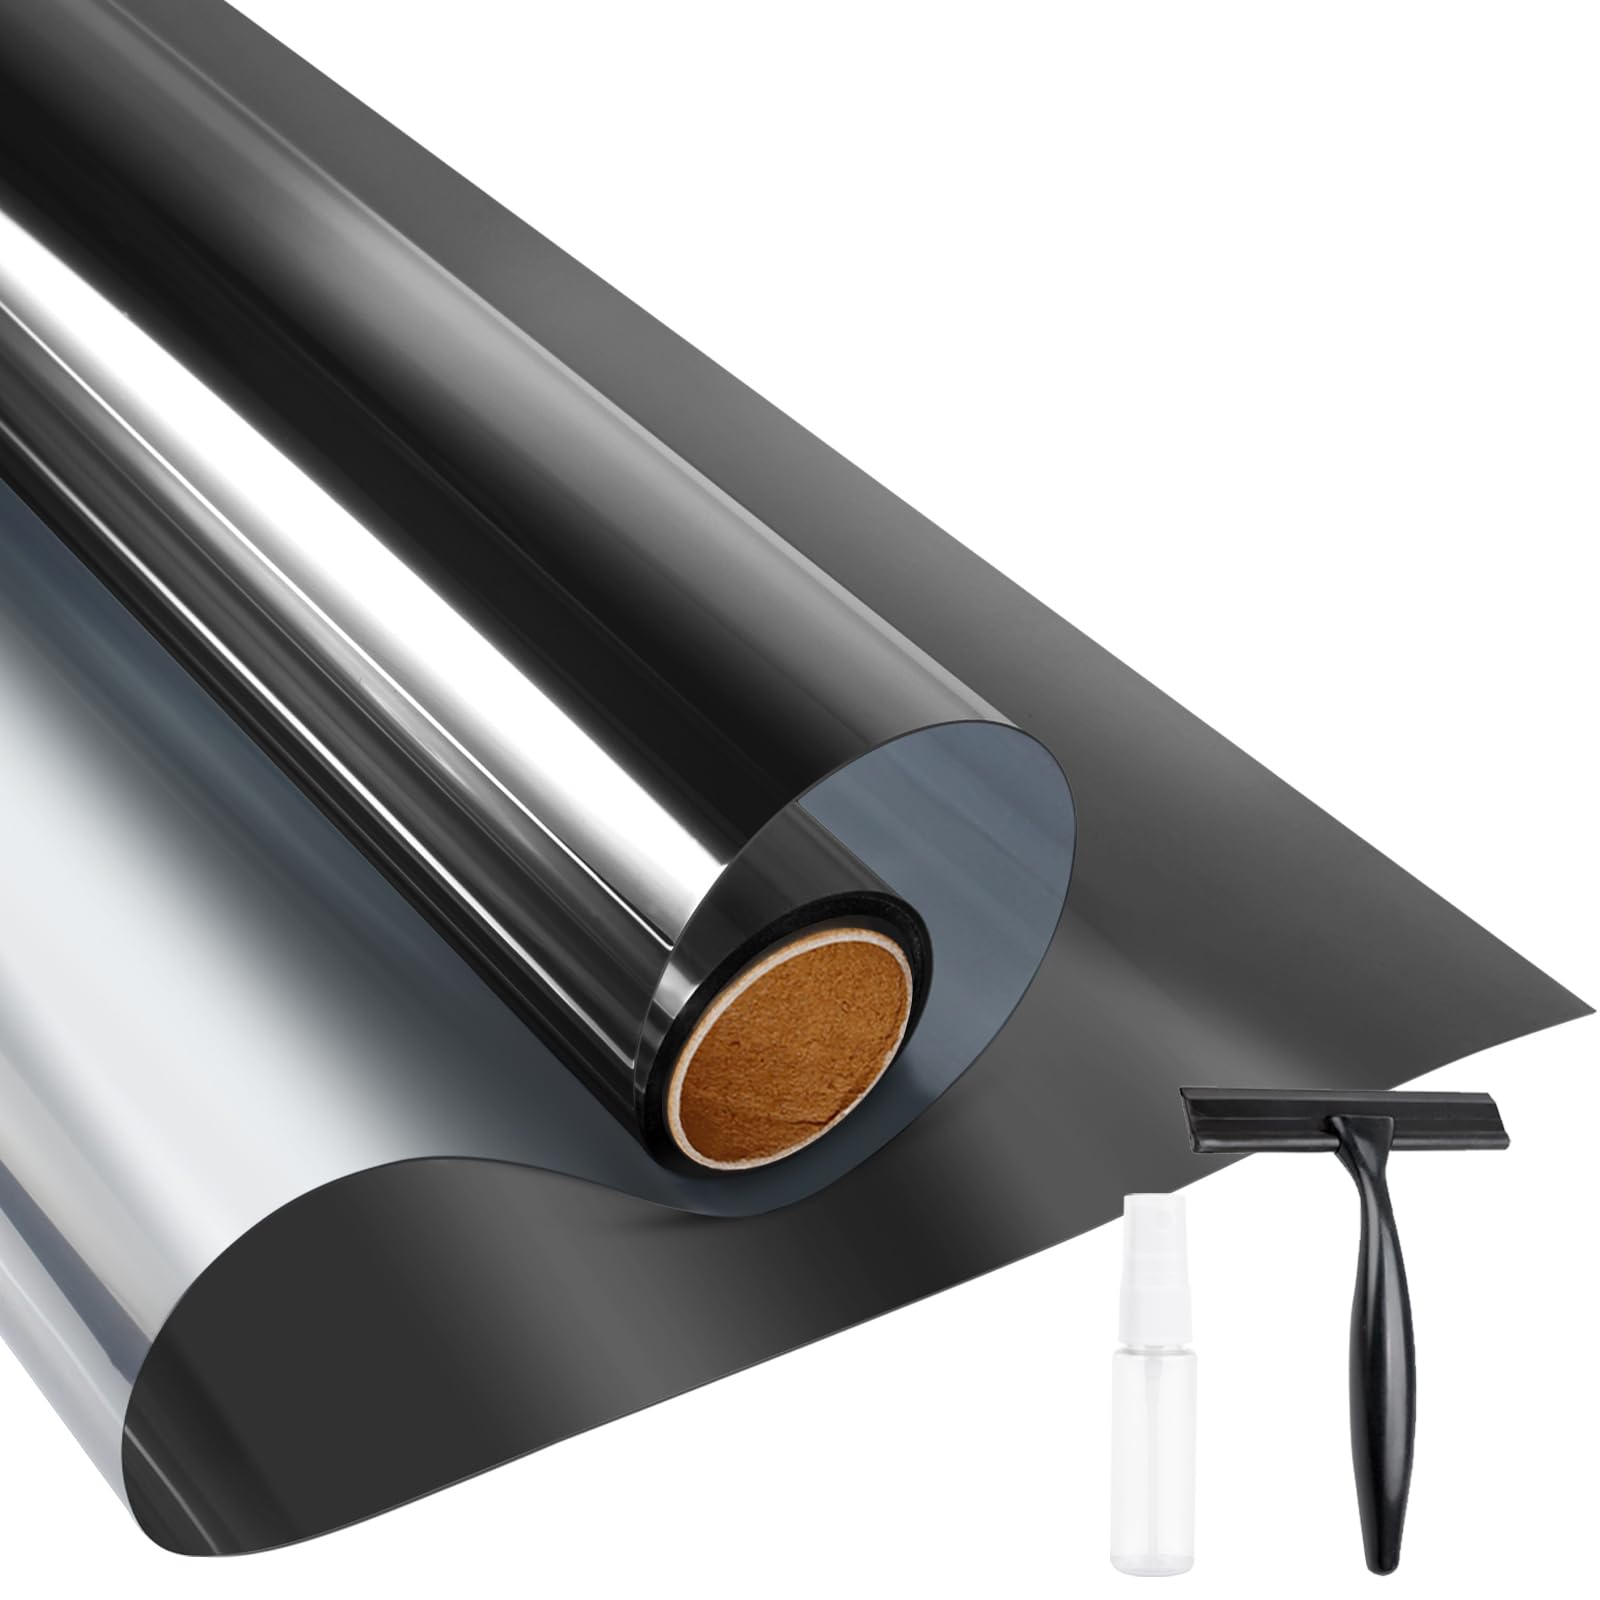
Especificaciones
- Material
- Vinyl
- Color
- Black-silver
- Tamaño
- 17.5 Inch X 6.5 Feet
- Dimensiones
- 78"L x 17.5"W
- Installation Type
- Static Cling
- Ultraviolet Light Protection
- Block 90% UV Rays
- Number of Items
- 1
- Number of Packs
- 1
- Brand Name
- KESPEN WINDOW FILMS
- Fabricante
- KESPEN
- Unit Count
- 9.49 Square Feet
- Material Type
- Vinyl
- Item Dimensions L x W
- 78"L x 17.5"W
Ver todas las especificacionesVer menos⌄
Calificaciones
4,1
★★★★★30.408 calificaciones
Las calificaciones provienen de Amazon.com.
Keep it wet and the bubbles will eventually suck down.
I love this film. Not so easy to put up by yourself the first time. Keep it really wet! I put it up and that I did a bad job because there were some air bubbles in there. I put it up on a Thursday. I walked into the house Friday and noticed it was considerably cooler. Excellent heat and light blocking. I checked the windows on Saturday on all the bubbles were gone. They had all sucked down and it looks like it was professionally installed. Great product and is on all my windows now. 👍
Work very well for not being a professional install
These were not that hard to install, if you follow instructions and take your time they can look very good. My pictures show during daytime you cannot see inside, and you can see outside with minimal visual distortion. I did not take night pictures, but at night you can see inside. The only downside to these is that looking from inside to the outside at night seemed very poor.This is what I found to work best for install.If you have plenty of material left over after cutting out what you need, use some of the excess to practice with.1. Get a good squeegee - I got this one EHDIS Small Squeegee 5 inch Rubber Window Tint Squeegee for Car, Glass, Mirror, Shower, Auto,Windows2. Thoroughly clean your windows. Don't just wipe them down, clean them. Clean them a few times.3. Measure the glass you want to cover, then add at least a half inch to each edge. So if your window is 20" wide, you want at least 21" of material or more.4. Cut your material to the amount you just figured out.5. Make a spray bottle of soapy water. Don't go crazy with the soap, just a drop or two is plenty.6. Spray your window so that every inch is wet and the water is dripping down - you cannot get it too wet.7. Peel the plastic protective sheet off the film.8. Spray the cling side of the film (the same side that had the protective plastic) with your soapy water.9. Give another couple sprays to the window, especially the top edge if your water has dripped down.10. Place the film onto the window so that the edges overlap the window. The film will automatically cling to the window and some of the soapy water will go away. You can adjust the position of the film as necessary to get the edges overlapping.11. Use the squeegee ONLY in a small section of the center of the window - DO NOT wipe to the edges. This will help the film stay in place while you cut it to fit. You do not want to squeegee to the edges because you still need the soapy water to help the edges stick after you get the film trimmed to size.12. Use a sharp hobby/exacto knife to cut the film. Push the film down so that it gets as far into the corner of the glass and the frame as possible. I found it easier to start from the middle and work my way into the corners. Go VERY SLOW! A nice slow cut will help you cut straight. I also found it helpfull to cut an entire sliver off, and not just to the corner of the window.13. Once you have it completely trimmed, use the squeegee starting from the center of the window and work your way to the outside edges. Do it multiple times, even if it looks like the soapy water is gone.14. If you have any edges that are not sticking, gently pull the edge back far enough that you can spray more soapy water in there, then use the squeegee again.
Aanonymous
8 de julio de 2026
TAKE YOUR TIME!
This stuff definitely works to reduce heat coming into a room. I took about 90 minutes to carefully measure and cut the film for one window, the kind that slides open from the bottom. It was complicated by my having a window air conditioner in the way. However, from the moment I test fit the pieces, it was evident the UV rays were being reduced significantly.Installation isn't too difficult, as long as you use a LOT of water. You think you have enough? Add about twice again as much. You want this sucker slippery! I started out with about 3/4" - 1" extra material. Be very aware of what the film is doing as you test fit it. It can sneak out of placement, but by carefully moving it into position, it stays put. After it is stuck in place, and you squeegee out as much water as you can, then trim with the razor blades. They are SHARP!Careful when you are sizing and cutting, because the film will crease. I wiped my interior windows down four times with glass cleaner, first with microfiber towels, and then with a squeegee and I still have some dust and strings.Overall it seems a decent product. I am knocking off one star because it is not as easy as it seems to install.
MMzunderstood
21 de junio de 2026
Game Changer
Worked GREAT for my needs. The sliding glass doors let a ton of sun in all afternoon. It creates a tremendous amount of heat. Even with ac on it felt hot. Less than $60 bucks solved that problem. There was a slight learning curve for installation. I wish I could do it over but it is going to be good enough. My recommendation is to go slowly when trimming to fit. If you happen to have a right angle ruler use it. The box it comes in was also helpful for a straight edge. For the length I used the dining table, pulled the amount I wanted to trim off the edge, and then used the table edge to control my razor. Should have done this with the end as well. If it looks bubbly and weird just keep working it. Push the bubbles to the edge and the water seeps out. I held a towel so I could wipe up all seepage. As the water dries between the window and the film it will look better and better. You definitely want to trim the edges so they are not right against the frame. If you don’t you can’t get the water out. I’ve had no problem with adhesion. One side was slipping a little but as the water dried that stopped. The spray bottle it comes with will give you carpal tunnel from the amount of pumps you’d have to administer. Use any other spray bottle. I’m going to fill the little spray bottles with eyeglass cleaner and put it in my purse. The little squeegee that comes with it is very helpful. The room feels so much cooler now. There’s no glare. The view is unobstructed and looks more colorful (like wearing polarized sunglasses). I’m so thrilled. I’d been using paper black out shades to keep it cool but that looked bad and completely blocked the view. Plus raising and lowering when I wanted to use the patio door (which is pretty constant most of the year) was a pain in the butt. That problem is solved. I want to do my windows on the front the the daytime mirror effect is a bit much for that and the directions say it can’t be used on double pane windows. Don’t know why. The directions say to spray both sides of the window. That clearly is not factual bc anything above the first floor would be off limits. Just spray the side of the glass the film that will touch and the side of the film that will touch the glass. Finally, use something heavy to hold down the corners when you are cutting the film but once you take the protective plastic off and spray the film with water it won’t curl anymore.