It was worth it! Customer for life!
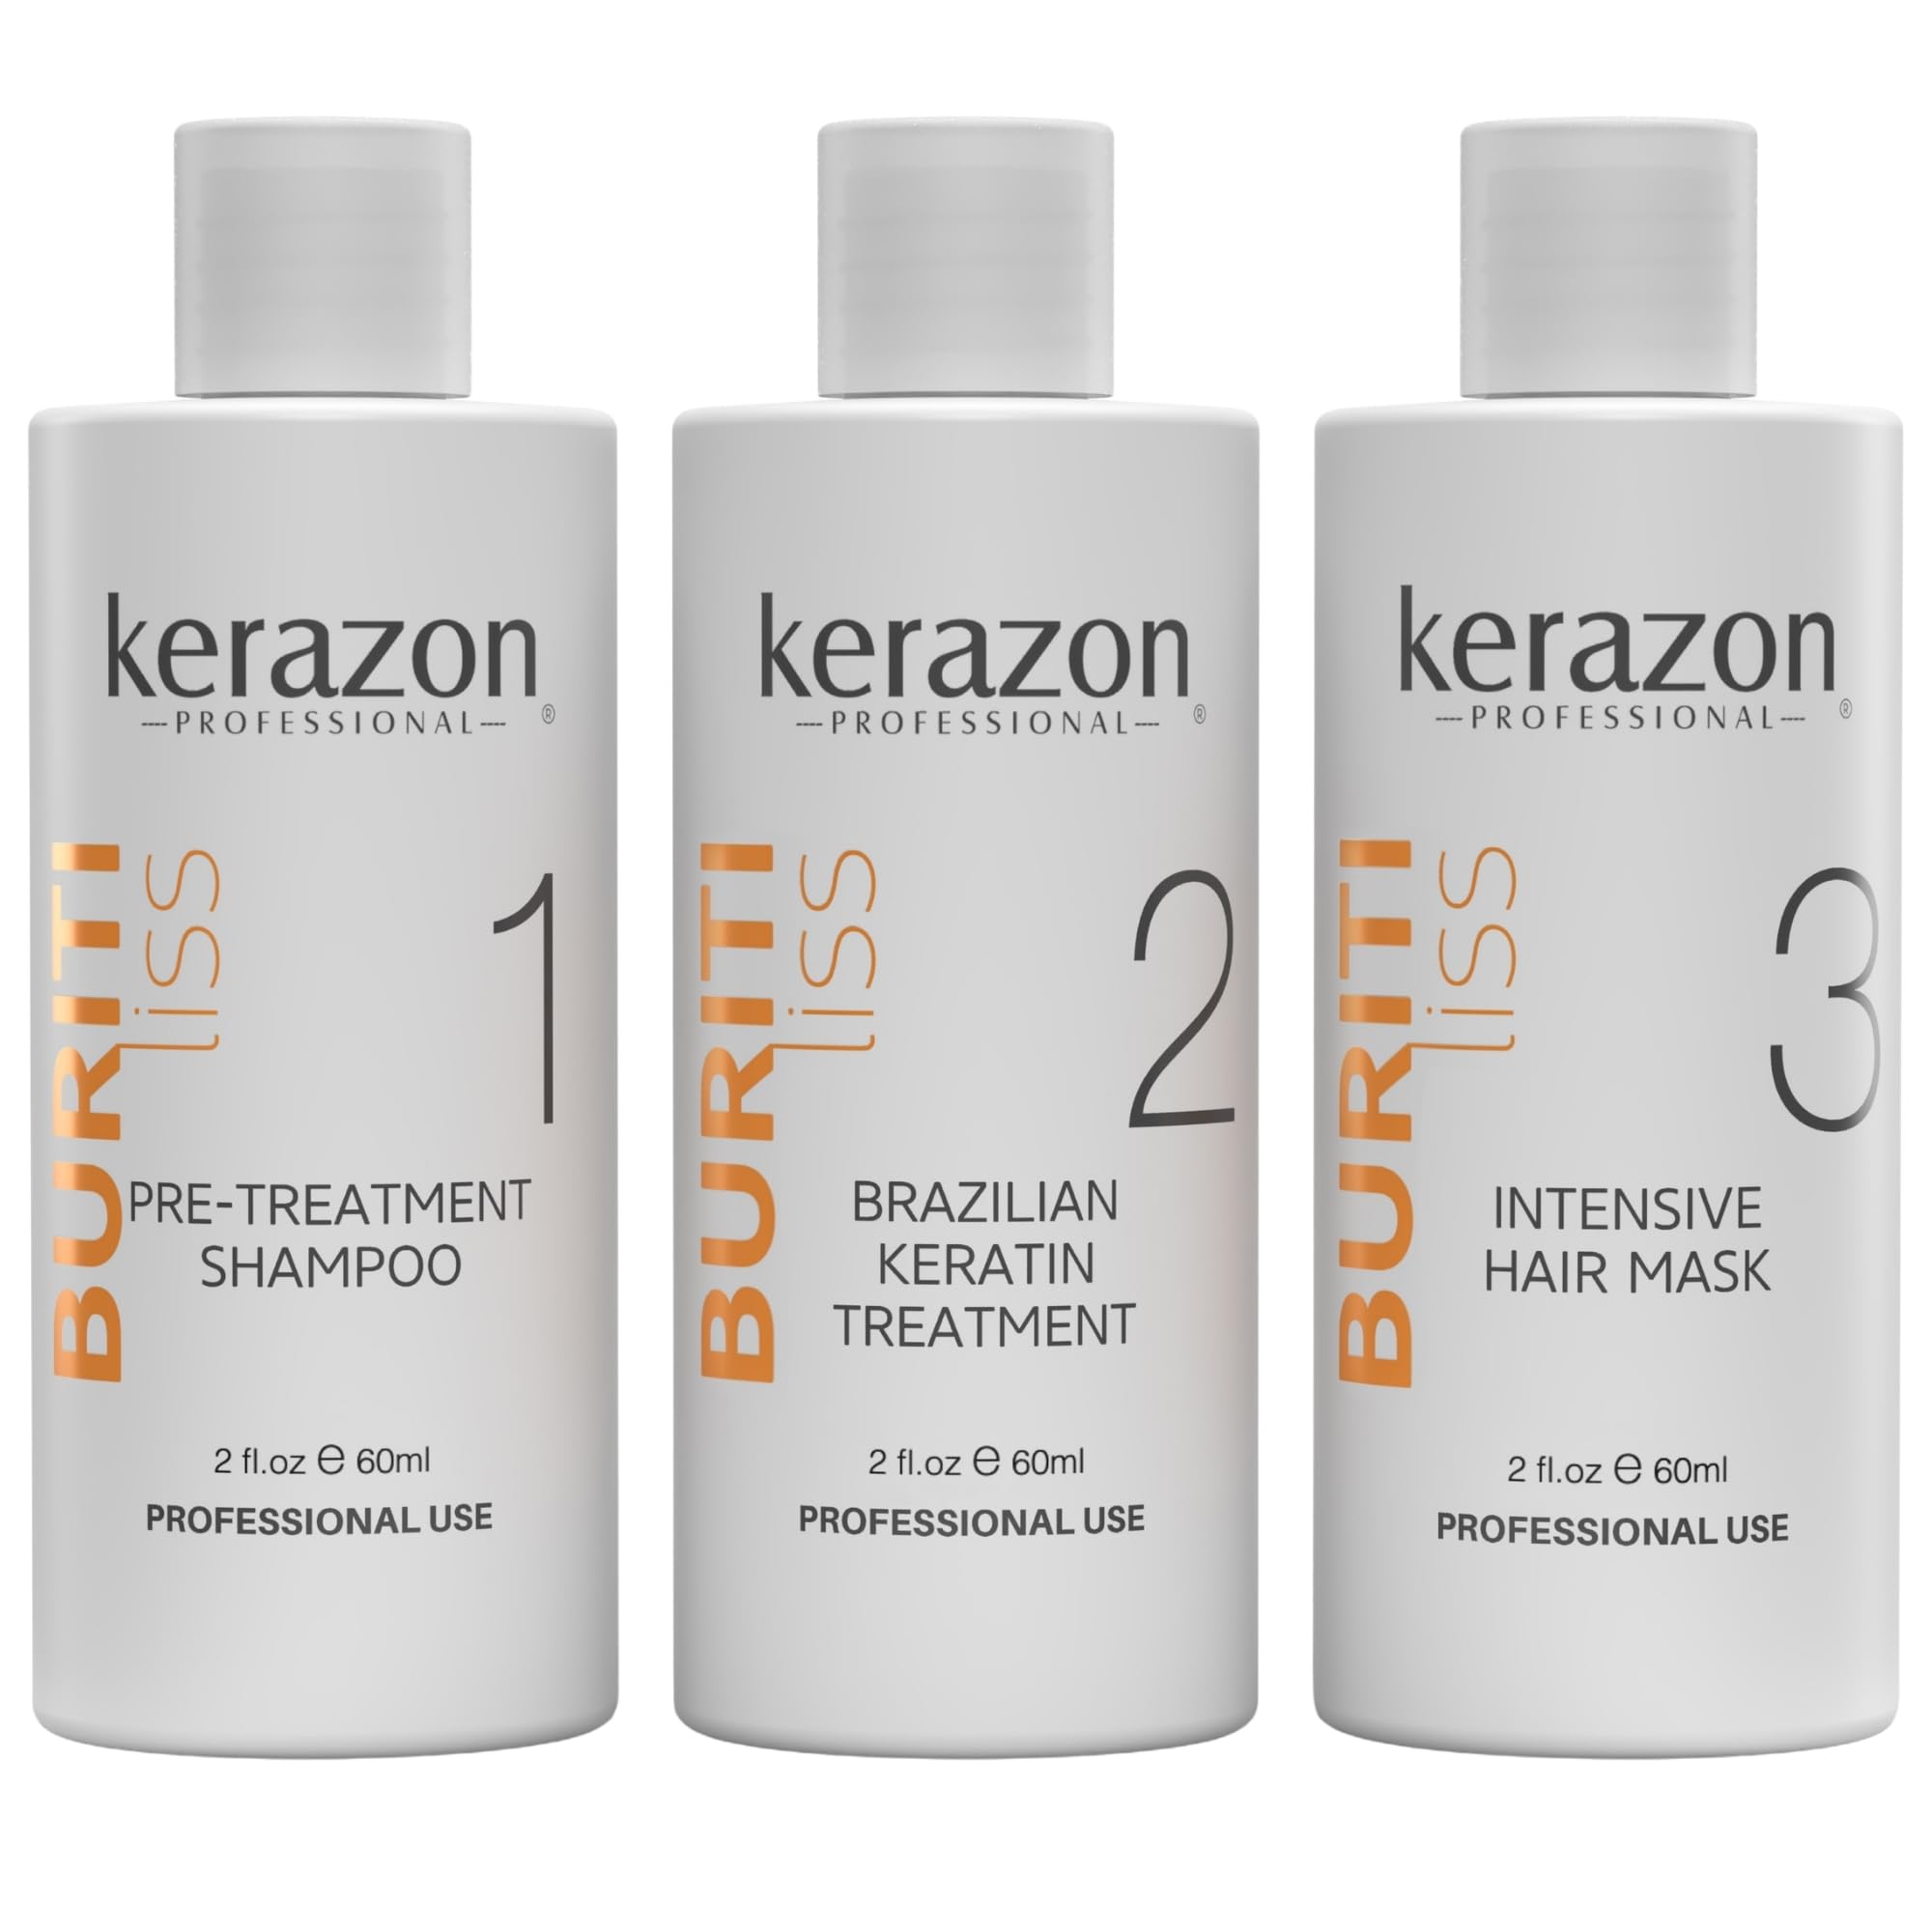
I originally didn’t think to write a review on this product because I was afraid that over the months I would not like it. But considering I’m on repurchase number three, there must be something about it that makes me feel that it’s worth it. I moved away from relaxed here over a decade ago. And if you know how to deal with any type of curly or type for hair, then you know it’s no joke. Curls and fairy knots simply twist into one another all the time. And I was really getting sick of the ferry nuts. Also dealing with split ends can be quite the pain and detangling is always a much longer task than it should be. So with that, a girlfriend of mine who also has type for hair recommended that I tried this product to help lessen the amount of fairy nuts and help with the detangler process. She said that for her she would apply it just like a relaxer, but it would not permanently straighten her hair. So I tried it. The very first time I looked at the amount of ounces that comes in this thing and thought for sure there is no way there’s enough product to get my complete head of hair done. And I kind of feel I was right. They really need to update this to 2 1/2 ounces at minimum for us girls with a lot of hair. I found that the shampoo and conditioner was enough, but the treatment itself is never enough. AnyWho, the shampoo is one that truly strips the hair of all oils and product. No problem with it at all as it had a good smell and good lather to it. I’ve always used the entire bottle just to make sure I’m operating on a squeaky clean head of hair. I’ve also made sure to read all of the instructions to a T. When it comes to the actual application of the treatment, I saw many people complaining about how it burned, their eyes or how strong it was. And I absolutely thought that they had to be lying. But they are not!!! You should absolutely be using gloves and some form of an air filter or ventilation system when applying this treatment to your hair. That would be the middle bottle labeled step two. It might look like nothing, but if you hold it up to your nose or your eyes, which I hope that you never do, just know that it will absolutely burn! While applying it to my hair, and I absolutely tried my very, very best to put the least amount on as possible, I realized as a strand of my hair got close to my eyes, that this product was no joke. I literally started crying. My eyes watered so bad. I wish I had done this outside! And once I turned the blow dryer on the low setting or cool setting as recommended in the instructions to make sure the product was completely dried on my hair, I realize that the entire room will fill with the smell. This must be the same smell that happens when you go to the Dominican salons because it was strong. Again, I highly recommend a well ventilated room or having an air filter and air vent on at the exact same time. The amount of fumes that you cannot see but you can absolutely smell in your eyes will burn is worth a face mask and goggles. I’m not exaggerating. For me the most fuming portion of my process was turning on my flat iron to flat iron the product into my hair, as that is what happens with most keratin treatments. That is when the true fumes and irritation can begin. Once I learned the trick of turning on the vent and having an air purifier in the room, it was a lot better for me and it got much easier. But on another note, keep in mind the temperature that you use for your flat iron because it does recommend a very high heat of over 400° which is extremely hot. I’ve had other professional stylists recommend a slightly lower temperature between 350 and 395 but they also had to do several passes along the hair in order to ensure that it was ironed on from root to tip. In my eyes, I would much rather that because I don’t want to burn the hair. In the step where it tells you to watch the hair out is where I realized that it had worked. I could feel how smooth my hair was the smell did not last. And the conditioner was quite softening. My final flat iron was an absolute breeze and so was the blow dry. I have found that reapplying this product on type four hair at the same timeframe that you would a relaxer, meaning every 10 to 12 weeks or maybe a little longer if you can, is worth the price. For example, if you had a relaxer that was professionally done in a salon and paid at least $100-$150 out the door every 10 to 12 weeks in comparison to paying lesson $50 and doing it yourself. Then you can see how this can really add up. I’m sad this thing never goes on sale. Otherwise I would buy a few of them and put it under my cabinet in the bathroom for future use. I can honestly say the very first time I was scared as heck so I did it to the tea, but my results were amazing. Bad keratin treatment lasted me 14 to 16 weeks. And because I’ve gotten better with the application process I’m at the point where I can stretch it to about 18 to 20 weeks. I will never go back to a relaxer again as long as this product is available to me. And while I complain and you read all of that other stuff above about how my eyes were watering and I was crying in the fumes and having good ventilation, I must say this is one of the better products that I have experienced on the market. My fairy nuts are gone. I still have to trim my ends regularly, but I have slightly less split ends. My silk presses come out very well. Humidity doesn’t hit me nearly as bad as it could. And my ponytail has that swing to it! I love it. If you are second-guessing, whether this will work for you, I would say it’s worth less than 50 bucks to try it at least once before going to a Dominican salon or your regular stylist to pay a lot more. Just try it. And if you don’t like this particular brand maybe there is another one out there for you. But overall, this one definitely gets the job done in a one time application if you need that type of service. Your hair will be shiny. You will like the smell of the conditioner, not the treatment. And overall, your results in smoothness will be a lot more visible and manageable. So give it a shot. And give me a thumbs up if you agree that it’s worth a try.
Shiny hair for less than the $150 I pay in a salon! 😍😍
My review will have some details, so I hope you find it helpful. My hair is curly and thick, so I've always treated it and gone to the salon to maintain it. Last October, I dyed it and got a treatment for a party, and since then, I hadn't done anything else to it. Since everything has gone up in price and the treatments I get are expensive, I decided to look for another way to properly care for my hair without damaging it and without spending the same amount of time I do at the salon (5 hours). I decided to look on Amazon for different keratin treatments that were as good as the ones at the salon. I read a lot of reviews because I usually compare prices, and that way I can decide if the product is worth the advertised price. I normally spend between $80 and $150 per treatment every three months, and I wash and dry it at home since I have everything I need to style it. I found this Kerason product, and it seemed to have the same technique and process they use at the salon (the difference is that you have to straighten it, wash it again, and dry it all on the same day). So I bought it and did my hair myself, just like at the salon. I ordered the $69 treatment because my hair is shoulder-length and the product was 2 oz, but I think next time I'll buy two treatments to make sure I don't run out. (But I used a tip I read, and the 2 oz was enough for all my hair.) Since I already had to dye my hair, I did it first because the instructions say to dye it first and then do the keratin treatment. Then, another day, I washed my hair again and used the clarifying shampoo that comes with the treatment, and I blow-dried it completely. Then I started the keratin treatment, dividing my hair into four sections. (TIP) Since the bottle was 2 oz, I poured 1/4 of the keratin into a bowl and mixed it with a little water, as the product is quite thick. This allowed me to treat all of my hair, right down to the ends, and you should wear gloves until you're ready to straighten it. The product has a smell, but it's tolerable. You should wear a face mask, as it will irritate your eyes quite a bit, so you need to be in a well-ventilated area if you want to do the treatment properly. After finishing the keratin treatment, you should blow-dry your hair on the cool setting and then straighten it completely. Since my hair is quite thick and I realized I'd never finish with just the straightener, I used my blow-dryer on the high heat setting to complete the process. As I had already been drying my hair for four hours and had other things to do, I decided to leave the product in until the next day (my hands were sore from drying it so much). The next day, I washed it and used the conditioner that came with the product (I used a generous amount). I waited 5 minutes and washed it again, then slowly started blow-drying it to achieve the desired result. Finally, I straightened it and finished with some salon hairspray and hair drops, then styled it (I put on a hairnet and slept until the next day). When I woke up for a doctor's appointment, I was THRILLED with the result! I honestly didn't think I could get the same treatment at the salon for $150 and get such great results for less money—$69! In the pictures, you'll see how shiny and fresh my hair looks. The best thing about keratin treatments is that I can work out, and even if my hair sweats, it still looks great, and I don't have to wash or straighten it. I will definitely repurchase this product, and I hope my experience helps you! 💇🏻♀️📌
2025 was great- 2026 ruined my hair!!
I will update after I wash it out after 3 days and then a few months. But the process was not hard at all! It's really straight forward! Step 1, wash hair with shampoo they provided ( do it 3 times because it helps open the hair cuticles so the product absorbs better ), step 2 put the second bottle on for 40 mins ( or 20 mins if you have thin hair - I have a LOT of hair ), step 3 put the 3rd bottle mask on hair for 5 minutes. And then rinse with just water! Then blow dry straight . ( I have a huge blow dryer that has a built in brush that I love). And then straighten. Right when I had to blow dry I could tell my hair was wayyyy different than usual. I could get it to look the way I wanted in less than 1-2 minutes for each section. Which is saying a lot because that same blow dryer does not help me straighten my hair that quickly after I shower. I put a gazillion products on when I usually blow dry after I shower so I for sure know my hair is different right now. I also straightened it which didn't take long but I tried to be meticulous since they say this step is what makes the product absorb into your hair. But I'll update in3 days after I shower. And a few months down the lines. I will be kicking myself like crazy if getting a keratine at home treatment is so damn easy and I suffered alllll these years because I didn't want to go sit in a chair for 8 hours. For it to last only 2 months and it not was never even that great. Unless I did the Japanese one which I don't recommend. Because a it's way too straight and b it costs sooo much money! Oh and no fumes nothing!!! I don't know what all these reviewers are talking about!!Update: the first time I bought it it did great.Second time July of 2026, the mask itself was runny and not the same as last year. My hair did not look less freezy. In fact, my ends felt burnt after I washed them for the first time. I did a very expensive restoring mask after and it's been two weeks since I've done the keratine treatment and my hair is breaking 3 inches from my head! My hair is VERY strong and all I wanted was for it to be easier to style when I shower. This is insane. I hopeyou all pay for it. God knows what's inside of the mask that they've used to make it runny. The consistency should not have changed since I purchased it last time! You guys are thieves.
JJenny Bradanini
10 de diciembre de 2024
Buy this and start a vacation fund. WORKS AMAZING
I get my hair professionally straightened twice a year, typically opting for either a Brazilian Blowout or a Keratin Treatment. My last appointment took about three hours and cost $520, including the tip (SF Bay Area prices). Recently, I lost my job, so spending that kind of money wasn’t an option. My hair was way past due and looking very rough! I was desperate, so decided to risk it and try the DIY kits despite all the warnings I heard from stylists:"Do not do it at home. You will ruin your hair!""Your flat iron won't get hot enough.""The product isn’t strong enough.""These treatments aren’t legally sold online.""It will only last a few weeks."All not true and bad advice! I was worried my hair might break off or look fried, but I decided to go for it —and I’m so glad I did!!!My DIY hair experience is limited to a few disastrous bang cuts. I have thick blonde hair (about armpit length) with grown-out highlights. The top layer is mostly straight, but the underside is wavy and frizzy. Overall, my hair is pretty healthy.Time Commitment: The process took me about 4 hours. I have very thick hair, so 1.5 hours of that was spent blow-drying my hair; you are required to use cold air only.Fumes: The fumes were intense! No different than when at the salon but I had a cold and a sore throat, which made it worse. Once I turned on a fan and opened a window, I was fine. I highly recommend having a fan ready before starting.After-Smell: I was worried my hair would smell bad afterward, but it doesn’t have any noticeable odor.Product Usage: I purchased the smaller bottles and used all of the treatment (Step 2), 3/4 of the shampoo, and about half of the conditioner.Flat Iron Heat: My flat iron goes up to 450°F, which worked perfectly. After three passes with the iron, my hair was too hot to touch, so a thermal glove would have helped. When they mean 6-8 passes they mean it. I can tell where I only did a few passes.Supplies: You do not need a brush to apply #2. I found it much easier to put on with my fingers (wearing gloves). I also did not have a comb, which made it hard to separate into sections, and I think it would help my hands from getting burned by hot hair.Tips: Start applying the #2 on the section of hair that gives you the most issues to make sure you get that hair very saturated. Then, if you have leftover, go back and put on areas that cause you the most problems. Mine is the hair next to my neck; when I sweat, it curls up.Final Thoughts:I will not go back to the salon for this treatment ever!!! The results way exceeded my expectations! My hair is smooth, shiny, and straight—and it doesn’t look fried or damaged. The treatment has held up beautifully so far, proving the naysayers wrong. If I had known about this sooner, I could have saved so much money, and I would be planning an amazing Hawaiian Islands for the Holidays (and the humidity would not have made my hair a frizzy mess)Side note on the no job and forced to do DIY treatments: I also did the DIY eyelash perm and tint on myself. It was AMAZING. It looks so good! I will never have that done at a salon, either; next up, I might try and pull off highlighting my hair. So far 2 for 2......Look at me go!